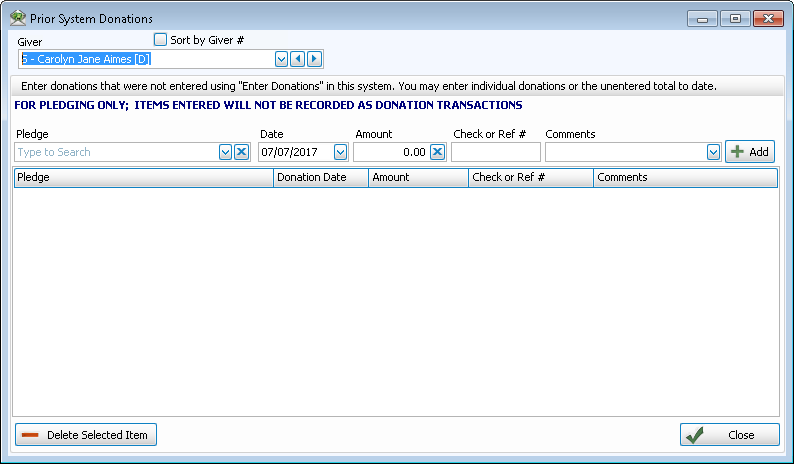
Prior System Donations
If you are using Donations for the first time and have money that you would like to record as being donated towards a pledge that is currently running, enter the total donation amount and other information using the Prior System Donations screen as indicated in the following steps. The purpose of the Prior System Donations screen is to keep track of all the money donated to the pledge, which has so far been kept track of outside this software.
Note:
Adding Prior System Donations ONLY impacts Pledges.
This function will allow the Giver to receive credit towards their pledge, however the donation(s) input here will not be entered into the overall Donations data and will not affect your account balances.
Before you make entries on the Prior System Donations screen, make sure that the following items have already been set up:
- The name of each Giver:
On the Prior System Donations screen, you will be asked to select the name of a Giver. Be sure to go to the Manage Givers screen and review the names of the Givers whose donations you plan to add using the Prior System Donation screen and see if the name has been entered there. If the Giver name is not listed on the Manage Givers screen, you will have to determine whether or not you will have to add the name to the software. - The pledge account:
The pledge towards which the Giver made the donation can be set up in the software as a giving account that accepts entries of money pledged. Moreover, in order for the account to show on the Prior System Donations screen, the account on the Giving Accounts screen must be marked as a Pledgeable Account in Manage Accounts.
Once you have these two things in place, proceed with the following instructions.
To access the View and Enter Pledges screen:
- Click Accounts & Pledges in the Button Bar at the top of the screen
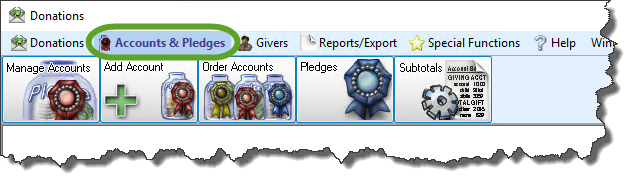
- Click the Pledges button from the menu options that appear underneath.

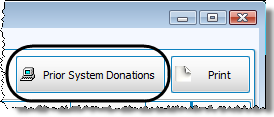
- Click the Prior System Donations button in the top right area of the screen that appears.
- Giver
Click the dropdown button and choose the name of the individual or group who made the donation.
Note:
If the name of the Giver that you are looking for does not appear in this box, you must click the plus button to Add Givers then enter the name and all contact information made available to you.
 - Pledge
Click the dropdown button and choose the name of the Pledge account towards which the Giver made the donation.
Note:
If the name of the pledge account does not appear in this list, you must Change and/or View Giving Account to ensure it has the ability to keep track of pledges, as well as giving, by placing a checkmark in the Pledgeable Account box.
 - Date
Enter the date that the donation took place.
- Amount
Enter the total of the money given so far for the pledge.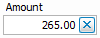
- Check or Ref #
Enter any check or reference number made available to you (if any).
- Comments
Enter any additional information you wish.
- Click the + Add button and the entry will appear in the list below the button.
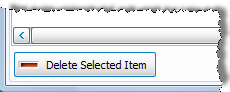
- If you need to remove any lines, select the line and click the Delete Selected Item at the bottom of the screen.
- If you need to add another pledge account for the same Giver, repeat Steps 5-11.
- If there is another Giver for whom you would like to enter donations made outside this software, repeat Steps 4-11.
When you are finished using this screen, click the Close button in the bottom right corner of the screen.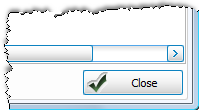
The View and Enter Pledges screen will remain open in the background for you to make any changes you wish, or to close it.
